So, you’ve got a leaky toilet. Toilet flapper leaks are some of the most common and sneaky leaks you can have. You don’t see a puddle on the floor or hear a constant drip, drip, drip. Flapper leaks happen between the toilet tank and the toilet bowl, so you might never see them.
To make it worse, they waste a lot of water! Odds are, you’ll first get suspicious you have a toilet leak when you get an inexplicable spike in your water bill. Luckily, replacing the toilet flapper is (usually) an inexpensive, easy DIY project.
Not sure you have a flapper leak?
Find out with the food coloring test.
In this article, we’ll walk you through how to:
- Pick a long-lasting toilet flapper
- Turn off the water to your toilet
- Replace the toilet flapper yourself
Let’s jump in!
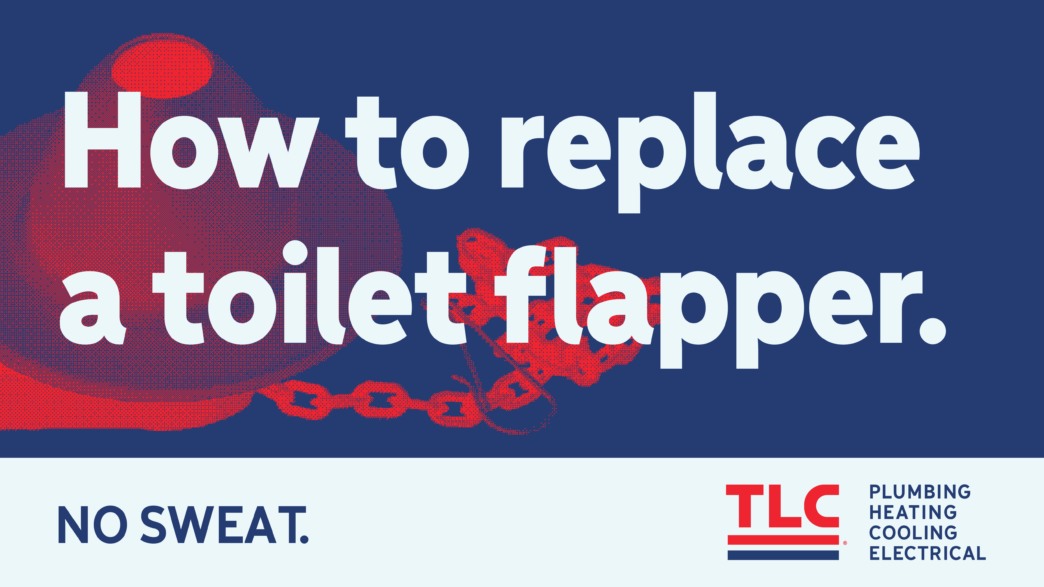
How to replace your toilet flapper in 6 easy steps:
Before we go too far, let’s cover some basics. A toilet flapper is the rubber stopper that prevents water from leaking from the tank into the toilet bowl between flushes. It’s attached to the stem pipe by pegs that hold it in place. A chain runs from the flapper to the flush lever. When you press the flush lever, the chain lifts the flapper, letting the water in the tank flush into the bowl.
If you look into your toilet and don’t see anything that looks like this (stem pipe, chain, and rubber stopper), then you’ve probably got a canister valve. We don’t suggest trying to change this yourself. Get a plumber to help you out!
Need help changing your flapper or canister valve?
Schedule a plumber today
Step 1: Purchase a chemical-resistant flapper
Toilet flappers are inexpensive and easy to find. Your local home improvement store will have what you need. Just make sure it’s chemical-resistant.
Why you need a chemical-resistant flapper. Unless you’re on a well, your water is likely treated with chemicals to keep it safe. All city water supplies have added chemicals. These chemicals eat away at the flapper over time and might be the root cause of the leak in the first place. A chemical-resistant flapper is (yes, you guessed it) resistant to this problem.
Step 2: Drain the toilet tank
Don’t worry, this part is easy. Look for the toilet hose near the base of the toilet. Turn the valve all the way to shut off the water to the toilet. Now flush! The tank will empty.
Step 3: Remove the old flapper
Don’t worry, the water inside the tank is not sewer water, but you can wear gloves if it makes you feel better. Reach in and disconnect the chain from the flush lever. Remove the flapper from the pegs on the stem pipe and chuck the whole thing in the trash.
Step 4: Attach the new flapper
Basically, do what you just did but in reverse. Attach the new flapper to the pegs on the stem pipe. Connect the chain to the flush lever. If you have a lot of slack in the chain so it doesn’t properly lift the flapper when you push the lever, put a twist or two in the chain to take up the slack.
Step 5: Turn the water back on
Reach back to the toilet hose and valve and turn it on. Give the tank a chance to refill. Now, do a test flush and let the tank fill again.
Step 6: Check for leaks
Check the water in the toilet bowl. Look for ripples or do the food coloring test (yes, it’s fun!) to make sure there aren’t any leaks. If you don’t have any leaks, you can move on with your life feeling very accomplished. If there are leaks, make sure the flapper is on correctly and the chain isn’t too tight.
Congrats on a successful DIY project! You’ve made your grandpa proud. Plus, you’ve saved yourself a visit from the plumber. That’s gotta feel good!
However, there is no shame in not wanting to mess with it yourself. You’ve got hundreds of other ways to make your family proud, and if DIYing the toilet isn’t your preference, no sweat. Give TLC a call today at 505-761-9644 or request an appointment online.